
Introduction
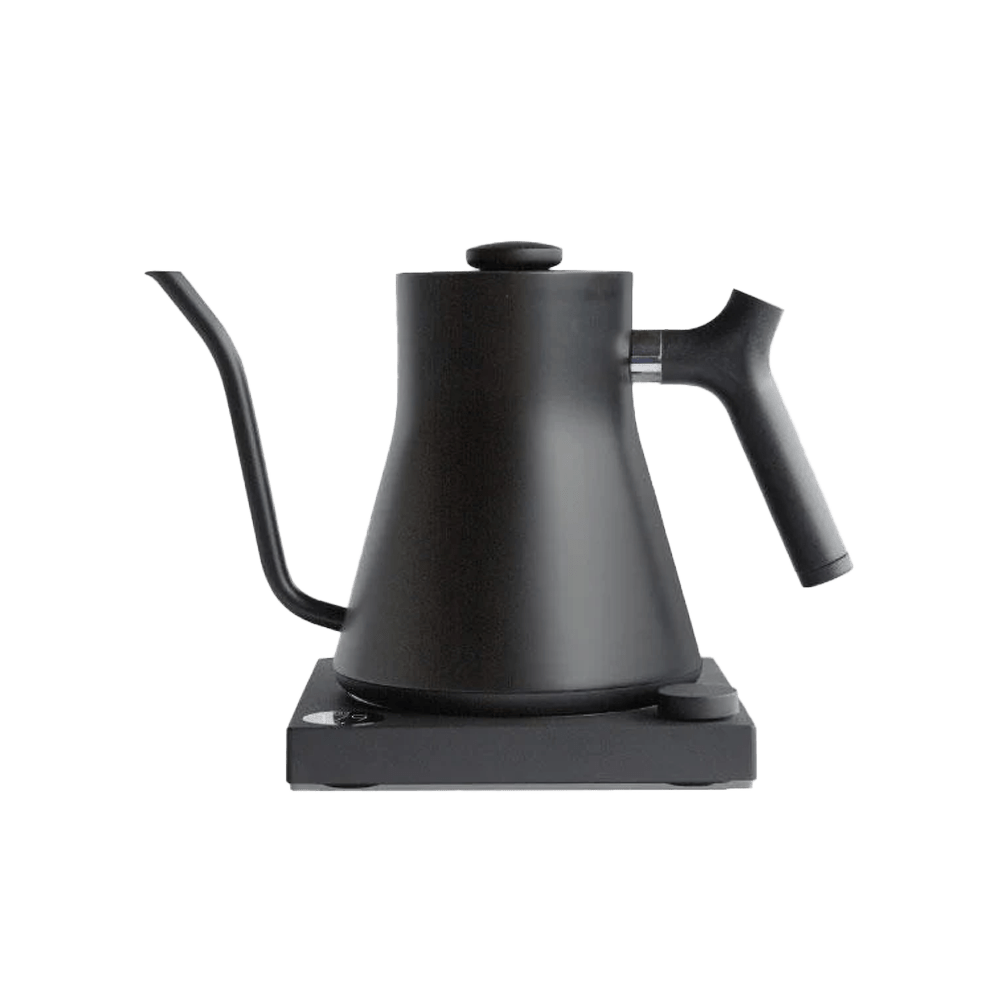
The Fellow Stagg has a shorter height, which aligns it with the methods of a continuous slow pour. Brewing with Stagg [X] gives you more control over water dispersal and extraction. It may seem similar to a Kalita Wave, but the design of the Fellow Stagg will have less resistance, so it's great if you're brewing a little finer relative to a Kalita Wave. That's because it features extra holes and a steep slope to increase the contact time. These two feature balances the typical drawbacks of a flat-bottom brewer - being restrictive in flow and less efficient in brewing compared to its Conical counterparts.
It is vacuum insulated for excellent heat retention. This is important due to steel's higher conductivity and lower specific heat capacity. Those terms mean that the material of steel requires less energy (heat) to warm it up, and the more conductive a material is, the more heat will travel out of your brew and into the cone. The insulation helps mitigate this.
Preparation
Before we start brewing, there are some things we need to prepare.
- Have a kettle ready with at least 500 ml of water, a scale and a grinder.
- We will be setting our kettle for 95℃ degrees. If you do not have an electric kettle, let your water boil and rest for 2 minutes, or routinely check it with a thermometer.
Brewing
![Fellow Stagg [X] Brew Guide Step 1](https://cdn.shopify.com/s/files/1/2657/1814/files/staggstep1_480x480.png?v=1701939437) |
Weigh out 16 grams of coffee. |
![Fellow Stagg [X] Brew Guide Step 2](https://cdn.shopify.com/s/files/1/2657/1814/files/staggstep2_480x480.png?v=1701939458) |
Rinse the filter with hot water to warm up the stainless steel and prevent heat absorption during brewing, which can hinder extraction. |
![Fellow Stagg [X] Brew Guide Step 3](https://cdn.shopify.com/s/files/1/2657/1814/files/staggstep3_480x480.png?v=1701939469) |
Place the ground coffee into the brewer. |
![Fellow Stagg [X] Brew Guide Step 4](https://cdn.shopify.com/s/files/1/2657/1814/files/staggstep4_480x480.png?v=1701939480) |
We will bloom the coffee by adding 40 grams of water, and we will let it bloom for 45 seconds. |
![Fellow Stagg [X] Brew Guide Step 5](https://cdn.shopify.com/s/files/1/2657/1814/files/staggstep5_480x480.png?v=1701939490) |
Perform the first pour by adding 60G of water to reach 100G. |
![Fellow Stagg [X] Brew Guide Step 6](https://cdn.shopify.com/s/files/1/2657/1814/files/staggstep6_480x480.png?v=1701939506) |
Let it drain for 15-20 seconds |
![Fellow Stagg [X] Brew Guide Step 7](https://cdn.shopify.com/s/files/1/2657/1814/files/staggstep7_480x480.png?v=1701939517) |
Perform the second pour by adding 70G of water to reach 250G |
|
|
we'll pick up the brewer and gently spin it clockwise to agitate the mixture, allowing high and dry grounds to be flushed back into the slurry.. |
![Fellow Stagg [X] Brew Guide Step 9](https://cdn.shopify.com/s/files/1/2657/1814/files/staggstep9_480x480.png?v=1701939541) |
Let it drain, and it should finish by 2:40-2:45 seconds. |
![Fellow Stagg [X] Brew Guide Step 10](https://cdn.shopify.com/s/files/1/2657/1814/files/staggstep10_480x480.png?v=1701939553) |
Serve and enjoy! |
![Fellow Stagg [X] Brew Guide Step 8](https://cdn.shopify.com/s/files/1/2657/1814/files/staggstep8_480x480.png?v=1701939529)
![Fellow Stagg [X] Pour-Over Dripper](http://acecoffeeroasters.com/cdn/shop/products/fellowpour-235034_1000x1000.png?v=1696694062)
![Fellow Stagg [X] Pour-Over Dripper](http://acecoffeeroasters.com/cdn/shop/products/fellowpour-235034_{width}x.png?v=1696694062)

Comments